Mac Gaming Keyboard Compatibility: Solve Key Remapping & Layouts
22nd Jan•7 min read

A gaming keyboard modding guide isn't about chasing boutique builds or spending months perfecting your setup, it's about identifying the handful of DIY gaming keyboard tweaks that measurably lift your latency, feel, and acoustics without risk or buyer's remorse. Whether you're climbing ranks in competitive shooters or grinding long sessions, the difference between a stock board and a tuned one often comes down to tactical, reversible upgrades you can complete in an evening.
This is the philosophy that matters: accessible, reversible mods beat expensive overhauls every time. One evening, one kit, one upgrade path (repeatable and low risk). The goal is to help you build a PC keyboard for gaming that performs like a custom, costs like a mid-tier board, and feels entirely yours.
Most guides skip the hard part: explaining why a mod works and whether it actually matters for your playstyle. Competitive gaming demands low, stable input latency and a tactile response you can trust under pressure. The keyboard isn't just an accessory, it's part of your control loop. That means every change should tie directly to one of three outcomes: faster, cleaner input recognition; a feel that builds muscle memory without fatigue; or acoustics that fit your environment without killing touch.
Spec sheets lie. Marketing noise obscures signal. What matters is this: you'll test changes yourself, see the results, and keep what sticks. Small wins stack.
Before you order a single mod kit, figure out what your board is actually doing wrong.
Listen and feel: Press each key slowly, then quickly. Do stabilizers (spacebar, shift, enter) rattle or feel mushy? Are switches wobbling side to side? Does the case ring when you bottom out a key on the edges versus center?
Document baseline: Record a short sound sample of your stock board, flat keys, slow typing, then fast gaming taps. You'll compare against this later and hear the difference.
Check layouts: Confirm your key binds fit comfortably. Pinky strain or reaching for modifiers signals an ergonomic issue no mod will fix; layout choice matters first. If you're unsure which form factor fits your desk and posture, start with our TKL vs full-size layout guide.
This step costs nothing and saves you from modding problems that don't exist. A dorm lounge we tuned once had six budget boards side by side, and it turned out half the perceived "harshness" was case resonance, not switch choice. Small diagnostic win before any spend.
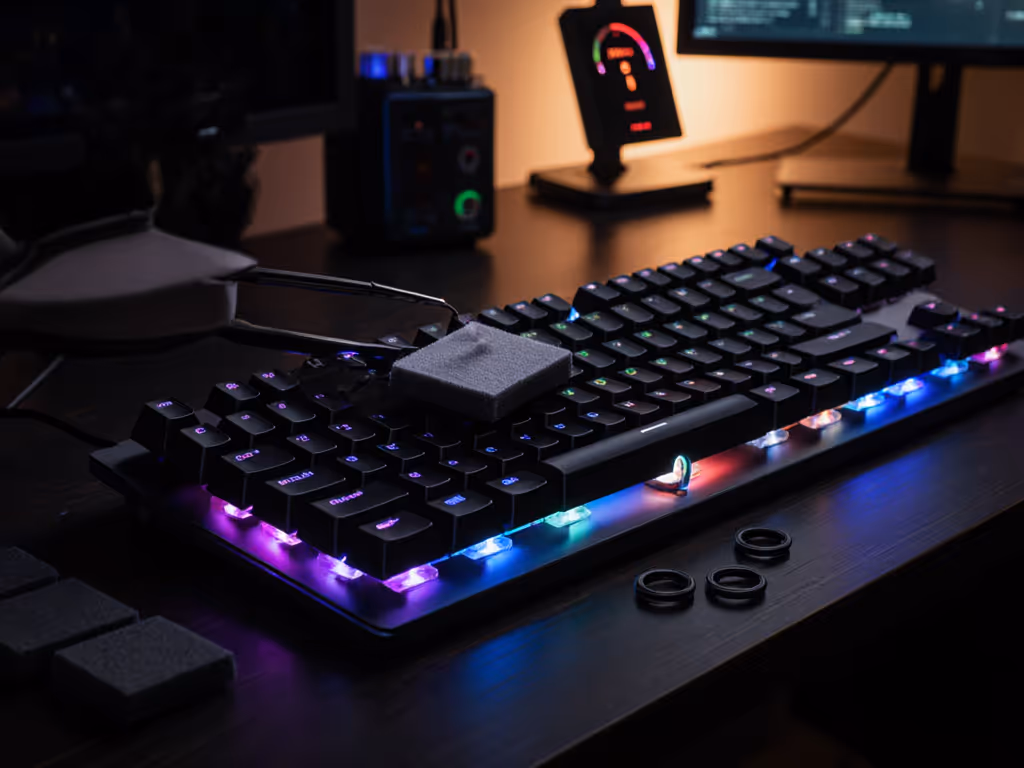
Stabilizers are the biggest culprit in dull feel and rattle. If your spacebar, shift, or enter feels hollow, mushy, or clunks unevenly, fix this first (low risk and immediate).
Option A: Band-Aid Mod (reversible, no tools needed)
Apply small adhesive bandage pieces to the PCB where stabilizer bars strike the plate. This dampens impact and produces a cleaner, more satisfying "thock" without changing feel. Takes 5 minutes, zero technical skill, completely reversible.
Option B: Lubricate and Clip (tools: stabilizer wire, clip tool, thin lubricant)
Remove stabilizer wires, clip the overhanging tabs gently to reduce wobble, lube the moving parts. This requires a clip tool but reduces rattle and smooths out the keystroke. Most keepers do this once, then leave it.
Why it matters: Stabilizers account for ~40% of perceived harshness in a gaming keyboard. Fix them first and the whole board feels more premium, without touching switches or case.
Lubing reduces friction and scratchy noise while preserving tactile response. For performance-enhancing keyboard mods, this is foundational. Use a thin lubricant (not thick oils) on the stem and spring, avoiding the tactile bump if your switches have one.
If you're hesitant about lubing, switch films are an easier entry point. These thin adhesive sheets reduce stem wobble and tighten the feel without altering sound as dramatically. Slip one film under each switch housing before reinstalling (takes 20 minutes for a full board, zero wetness, easy reversal).
Spring swapping adjusts actuation force: try 45g springs for speed-focused gaming (FPS, rhythm) or 67g for firmer feedback and accidental-press prevention. Replace springs in a subset of switches first (spacebar, WASD) to feel the difference before committing.
The cumulative effect? Cleaner, quieter keystrokes and a feel that builds confidence during long matches.
Gaming sound profile tuning means matching acoustics to your space and preference, not chasing viral "thock" content.
The Tempest Tape Mod is one of the most popular board mods for a reason: it's simple, produces measurable acoustic improvement, and costs under $5. Apply painter's tape to the PCB underside (following your board's design) to dampen hollow resonance. For a full walkthrough of materials and trade-offs, see our keyboard sound dampening guide. Test before and after, you'll hear the difference in case "ping."
For additional dampening:
Keycap choice also shapes your profile. Thicker keycaps (1.2-1.5mm) tend to sound fuller; cheaper, thin caps sound hollow. If budget allows, one upgrade to quality keycaps (PBT or double-shot) transforms acoustics and durability without touching internals.
This is where data meets feel. Polling rate (how often your board reports to the PC) and debounce settings affect input responsiveness. Most gaming boards ship at 1000 Hz (1 ms reporting); wireless often defaults lower.
Actionable checks:
This step is about verifying your board performs as advertised, not overhauling firmware unless you're confident.
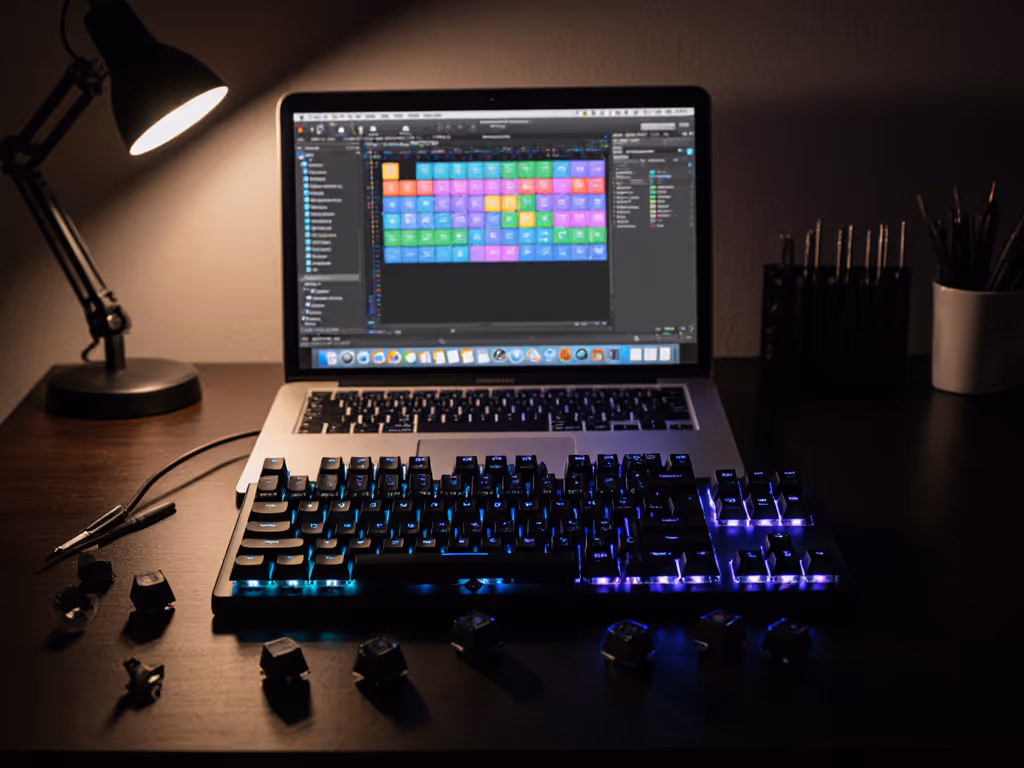
Switch choice is personal and playstyle-dependent, not universal. For a deep dive with genre-specific picks, see our gaming switch guide.
Fast-paced gaming (FPS, fighting): Red or Black switches (linear, low actuation force). Speed is more important than tactile confirmation.
Tactical gaming (MOBA, turn-based): Brown or similar (tactile, medium force). A bump signals input registration without the clicky noise.
Hybrid gaming + work typing: Brown or some tactile variant. Better feedback for both contexts; reduces hand fatigue over long sessions.
Once you pick a switch family, small tweaks (lubing, spring swapping within that family) yield better returns than chasing a different switch entirely. Test one switch type on your most-used key cluster first; if it feels right after a week of play, roll it out to the board. This is low-risk validation (not guesswork).
Once you've landed on a tuned setup, document it. Write down:
Tape this checklist inside your keyboard case. Next time you rebuild or help a friend, you've got a repeatable path. This is how knowledge compounds.
Don't wait for the perfect mod list. Pick one weakness from your diagnostic listen, usually stabilizer rattle or case ping, and run the Band-Aid Mod or stabilizer tune this week. Cost: under $10 and 20 minutes. Result: immediate, noticeable improvement in feel and acoustics.
Once you've felt that win, the rest follows naturally. One evening, one kit, one upgrade path. Repeatable and low risk. The next mod compounds on the first, and suddenly you're running a pro-level board that cost a fraction of a boutique build and plays exactly how you tuned it.
Small wins stack.