Ergonomic Keyboard Wrist Rests: Built-In vs. Separate
6th May•9 min read

Mechanical keyboard ergonomics isn't about aesthetics or brand prestige. It's applied keyboard positioning sports medicine distilled into three measurable variables: key travel distance, actuation force, and wrist alignment. Understanding these biomechanics lets you eliminate hand fatigue, prevent repetitive strain, and maintain the consistency that separates rank climbs from losses.
When you press a key, three mechanical factors compound to determine comfort:
Overlooking even one creates ripple effects. A keyboard with mushy key travel masks your tactile feedback, forcing you to bottom out harder to confirm input. Excessive actuation force turns every typing session into a finger workout. A poorly shaped keycap shifts your finger positioning, which can cascade into wrist deviation and shoulder strain over hours.
Here's the delta that matters: a well-tuned setup measurably reduces finger fatigue, lowers error rates, and keeps your wrist in a neutral position for gaming (the posture where your forearm, wrist, and hand form a straight line, minimizing tendon compression).

Deep travel keys (3-4 mm) provide clear midpoint feedback. You register activation partway through the press, which means lighter tapping delivers full input without bottoming out. This is distinct from shallow travel, which forces harder impacts to confirm registration.
Why this matters biomechanically: shallower travel concentrates force in fewer muscle fibers per keystroke. Over a 2000-keystroke gaming session or an 8-hour workday, that compounds into forearm fatigue and potential overuse strain. Deeper travel distributes the work across a longer motion, engaging larger muscle groups and reducing localized tension.
The downside? Deeper travel demands more bench space and adds milliseconds between keypress intention and registration. For competitive gaming, this trade-off is why low-profile mechanical switches exist. They compress travel to 3.2 mm while maintaining a 1.2 mm actuation point, splitting the difference between tactile feedback and snappy response.
Actuation force directly controls how hard your fingers must work per keystroke:
The physiology is straightforward: lighter switches require less motor unit recruitment per keystroke, which means fewer muscle fibers fatigue per hour. However, this advantage disappears if accidental presses force you to brake or correct mid session. You've introduced cognitive load and re-activation tension that erases the savings.
Your typing posture (finger rest vs. hover) should drive this choice. Hover-typists benefit from 50-60 gram switches. Home-row resters should lock in 60-70 grams to prevent misfires without sacrificing all responsiveness.
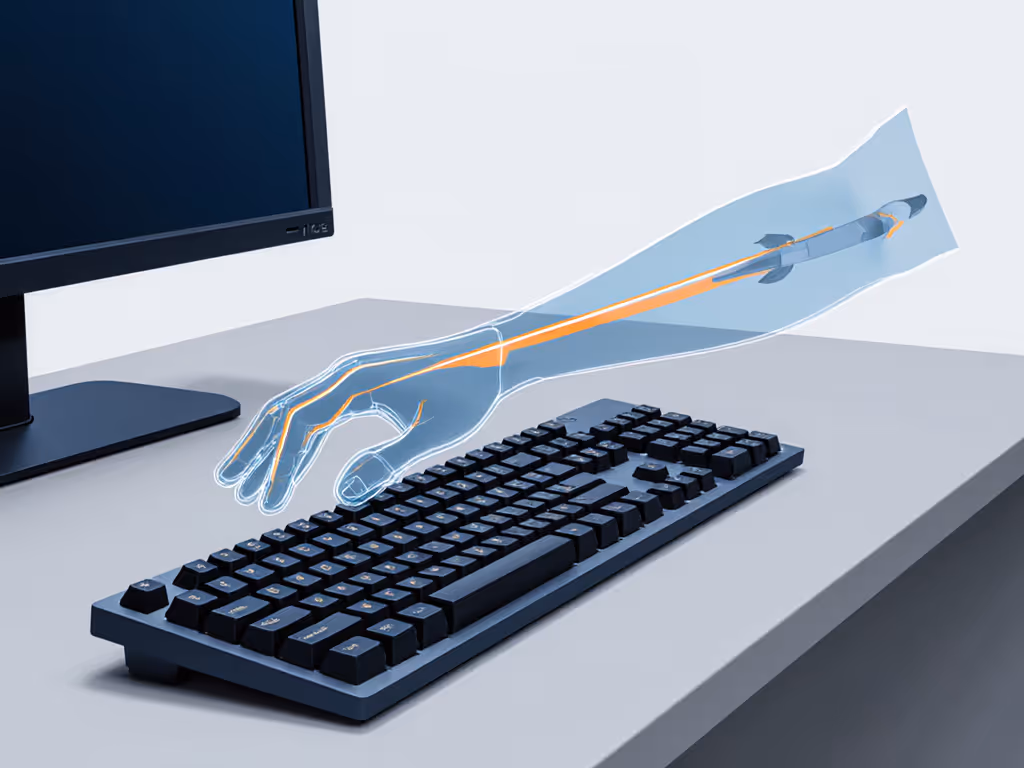
This is where keyboard positioning sports medicine principles align with setup reality. Your wrist, forearm, and shoulder form a kinetic chain. Misalignment at the keyboard cascades upward:
Wrist positioning: Maintain a neutral wrist position for gaming (a straight line from forearm through hand). For tilt and angle specifics, see our optimal keyboard angle guide. Deviation (flexion, extension, or ulnar deviation) compresses tendons and increases pressure on the median nerve over time. This is the precursor to repetitive strain injury.
Forearm alignment: Your forearm-parallel gaming stance should keep elbows at 90 degrees with forearms roughly parallel to the floor. Many setups fail here: monitor height forces an upward forearm angle, or armrest height lifts elbows, both of which load the shoulder.
Shoulder posture: Keep shoulders relaxed and back. Keyboard height that forces hunching triggers shoulder strain and keyboard fatigue. Upper trapezius engagement increases within 30 minutes and accelerates into cumulative tension by end of day. Optimal height places your elbows at desk level and does not force a downward reach.
Ergonomic keyboards often tout split or curved layouts as universal solutions. For model recommendations and setup tips, explore our best split mechanical keyboards for gaming. The data is messier: a well-designed traditional layout with optimized key travel, actuation force, and keycap geometry outperforms a poorly designed split board. The curve matters less than the metrics.
What does work: tenting at 20 degrees (raising the thumb-side edge) reduces forearm pronation, the internal rotation of your forearm that strains the radioulnar joint during long sessions. Paired with shoulder-width hand placement (minimizing ulnar deviation at the wrist), this compounds into measurably lower fatigue.
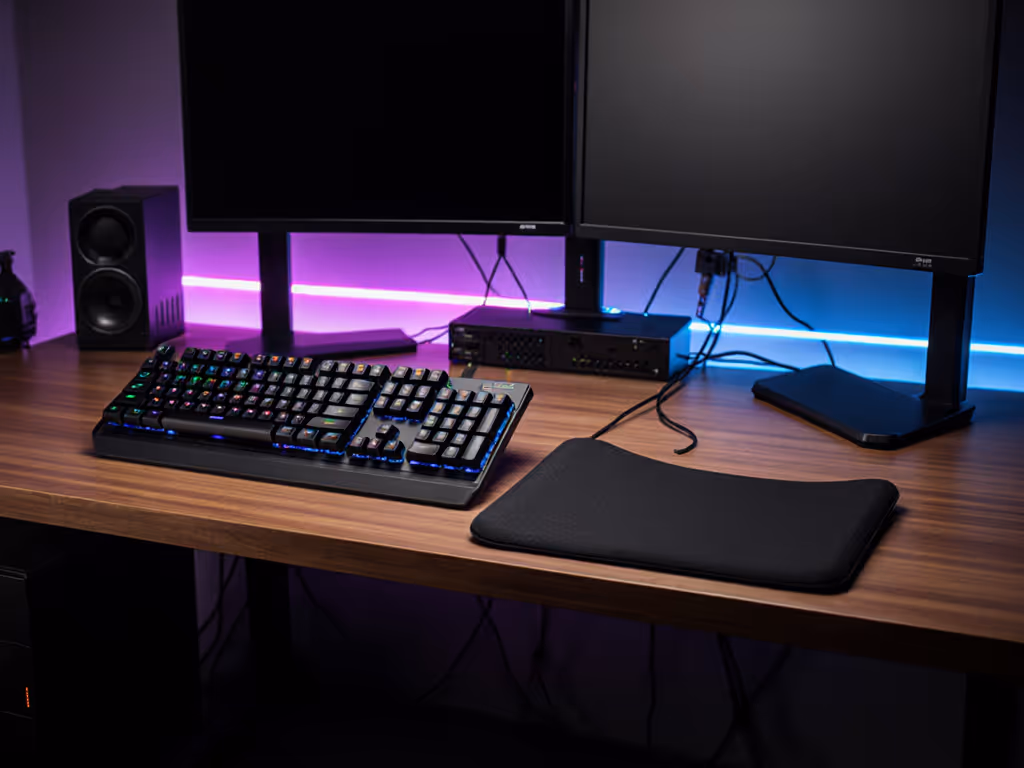
Practical translation: if you're using a standard layout, a thin ergonomic pad under the far edge, combined with correct chair height and monitor position, delivers most of the benefit without layout friction.
Gaming posture physiology isn't about perfect form. It is about reducing variance. Your nervous system adapts to consistent loading over minutes. When your chair height, keyboard angle, or wrist position shift mid session, you force micro-adaptations. Each recalibration fatigues stabilizer muscles (rotator cuff, scapular retractors) that don't directly control keypresses but stabilize the chain that does.
The outcome: inconsistent posture compounds fatigue in ways that feel vague ("my wrist is tired" rather than acute pain), which makes it easy to dismiss as weakness rather than setup failure.
Lock in one position and stick with it for a week. Measure how your performance and comfort track. Most users see a 10-15% improvement in consistency by week two, simply from eliminating micro-corrections.
Start with these actionable baselines:
Numbers first, then feel, because milliseconds and muscle tension both decide whether your sessions end in wins or hand pain.
If you've optimized your setup and still experience fatigue, the next variable is switch profile matching. To understand how different switch types affect feel and fatigue, start with our gaming switch guide. Different force curves (the graph of how resistance changes across key travel) produce radically different typing rhythms even at identical actuation force. A progressive curve (force increases sharply near bottom-out) feels snappier but fatigues stabilizers faster in fast-paced gaming. A linear curve distributes work evenly but can feel spongy to some typists.
The lesson I learned years ago (when a $90 tuned board beat my $280 custom) wasn't that expensive gear doesn't matter. It was that unmeasured setup defeats expensive specs every time. Measure your wrist position, test your key travel with a switch stem, dial in actuation force to your typing posture, and validate the change over 48 hours. Then add switches, mods, or layout changes.
That's how you escape the fatigue-and-cost spiral.