Ergonomic Keyboard Wrist Rests: Built-In vs. Separate
6th May•9 min read
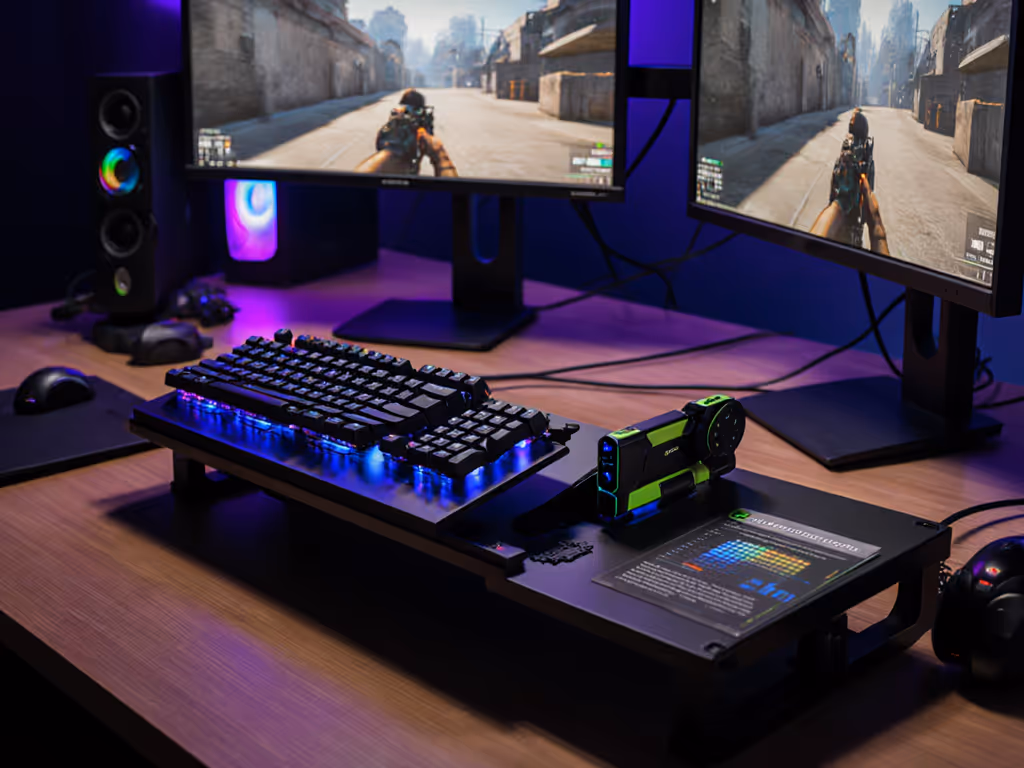
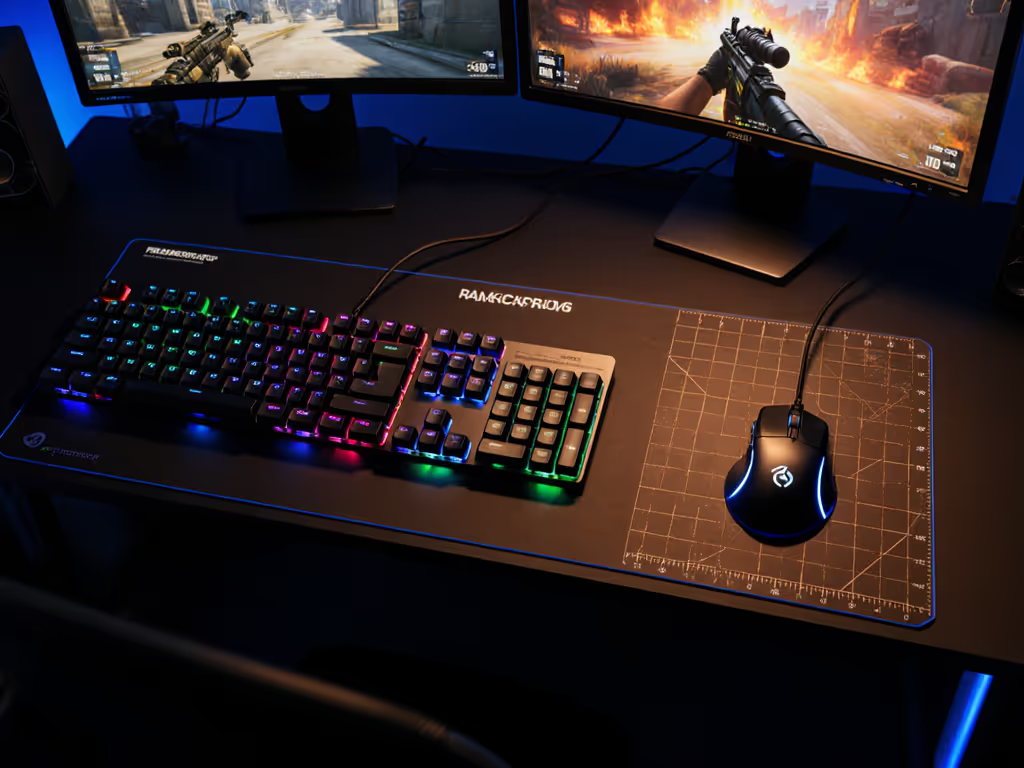
Keyboard mounting solutions comparison is about far more than aesthetics, and how you position your keyboard vertically and horizontally shapes your hand biomechanics, fatigue patterns, and consistency during long sessions. Whether you're gaming for rank, typing for work, or grinding both, the angle, height, and deck support beneath your fingers either compounds comfort into consistency or quietly erodes it over weeks. This guide breaks down the three core positioning approaches (standalone desks, under-desk trays, and tenting stands) with an analytical lens on how each interacts with your wrist, forearm, and recovery.
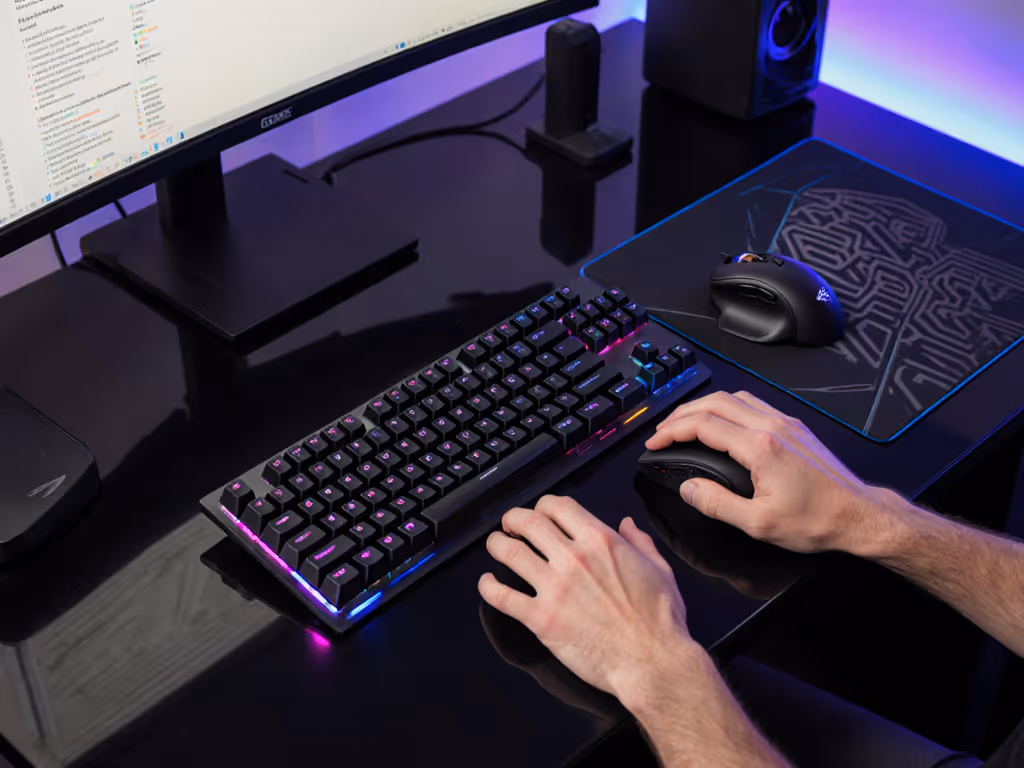
Neutral wrist mechanics start with angle. When your fingers rest on home row, your wrist should track a straight line from forearm through hand, with no flexion, extension, or radial deviation. Most keyboards arrive flat (0°), which often tips wrists into slight extension; sustained extension tightens forearm extensors and can seed long-session fatigue.
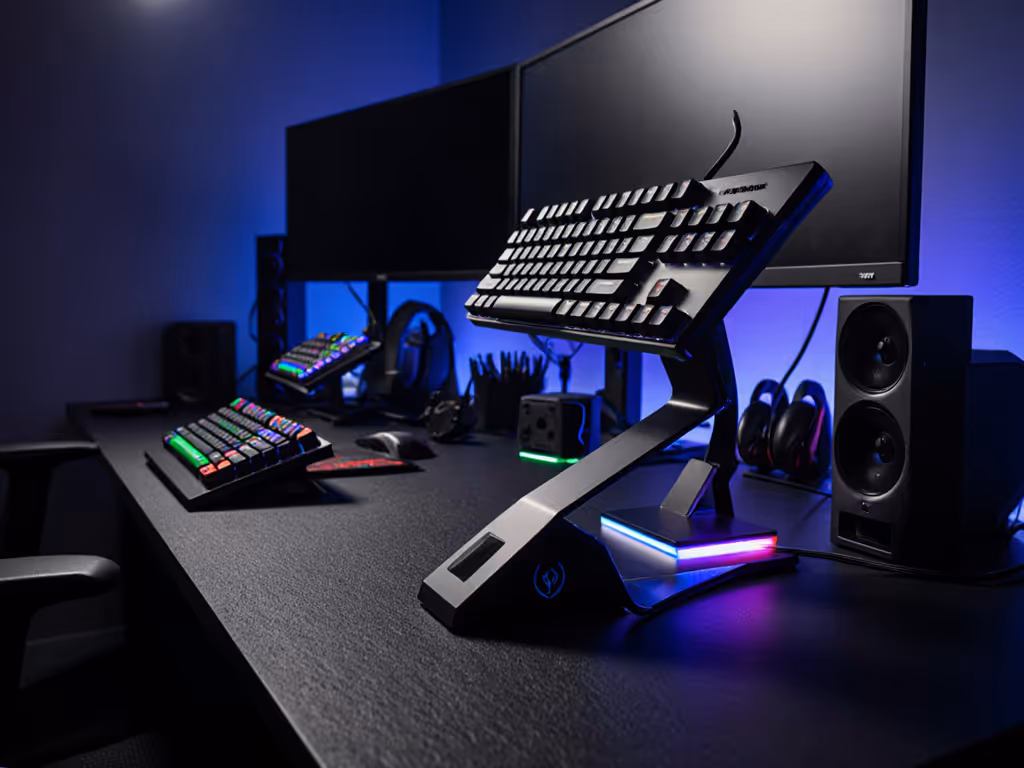
Tenting: tilting the board 5-15° to raise the center rotates your wrist toward neutral. Research on typing ergonomics confirms that 10-15° of tenting reduces wrist extension and distributes load more evenly across forearm muscles. A keyboard tenting stand achieves this by elevating the middle keys while keeping rows accessible. After months of wrist heat and nagging fatigue, I tested a modest 5° tent combined with a slightly lowered desk. Within two weeks of logging pain scores alongside accuracy, the pattern was clear: aim stayed steady, fatigue dropped fast, and the real insight was not the tent alone; it was how neutral mechanics quietly amplified consistency before any other tweak touched performance.
Negative tilt (sloping down toward you) can feel comforting short-term but pushes wrists into flexion and promotes arm elevation, which stresses shoulders. Unless you have very flat desk chairs or a specific clinical need, neutral-to-slight-positive angle works for most users. For detailed tilt ranges and setup tips, see our optimal gaming keyboard angle guide.
Each positioning system trades off convenience, space, and ergonomic control:
| Positioning Method | Height Control | Angle Options | Desk Space | Comfort for Long Sessions | Best For |
|---|---|---|---|---|---|
| Flat Desk Mount | Limited (desk height fixed) | None without added stand | Maximum | Variable; often leads to wrist extension | Casual typing, multiple input devices |
| Under-Desk Tray | Adjustable (tray slides up/down) | Slight angle via tray slope | Reclaims desk space | Often good if tray is padded; relies on consistent tray height | Dedicated typing setups, space-limited desks |
| Keyboard Tenting Stand | High (multiple incline angles) | 5-20° adjustability | Moderate (stand footprint) | Excellent if matched to wrist length and desk height | Gaming, long-session work, ergonomic focus |
Placing your keyboard flat on the desk is the path of least resistance. It's flexible: you can swap boards, use mice freely, and adjust on the fly. But it rarely delivers neutral wrist geometry unless your desk height perfectly matches your arm length when seated. Most users experience slight wrist extension. This works acceptably for short bursts or casual layouts (console shooters with frequent mouse pivots) but compounds fatigue over 6-8 hour days.
An under desk computer keyboard tray slides beneath the desk surface, typically with a negative slope. The core advantage: you reclaim desk real estate for monitors, secondary keyboards, or equipment. The biomechanical trade-off depends on tray design. Better trays include:
Under-desk trays suit dedicated gaming or typing setups where your input peripherals don't shift. They're particularly practical in shared spaces or office environments where desk real estate matters. The consistency matters: if your tray locks reliably and height is repeatable, you can dial in neutral angle and return to it daily.
A keyboard riser comparison often highlights tenting stands as the ergonomic anchor. These stands elevate the keyboard's center, creating 5-20° tilt. Key traits:
Tenting stands take desk footprint and add visual height. They're ideal if ergonomic control is your priority and desk space isn't heavily constrained. Your hands are part of the build, and positioning them correctly is the foundation layer.
Your board's internal mounting style (how the plate and PCB are suspended inside the case) doesn't directly dictate external height or angle. However, it does affect feel, and feel influences how you hold your wrists unconsciously.
Boards with softer, more absorbent mounts (gasket or spring-based systems) encourage lighter finger pressure and a more relaxed wrist posture. Rigid mounts (tray, top, integrated) feel more direct and can prompt slightly more aggressive wrist engagement. If you've chosen a stiffer mount and pair it with flat desk placement, you're doubling down on extension, which is the opposite of what neutral mechanics recommend. Conversely, a gasket-mounted board on a 10° tent with an adjustable under-desk tray becomes a layered ergonomic system.
In short: internal mounting style and external positioning are separate dials, but tuning both in harmony yields the deepest comfort. Comfort compounding into consistency is the real high score.
Gaming desk compatibility hinges on footprint and flexibility. Most gaming desks (120-160 cm wide) comfortably accommodate a flat keyboard plus mouse to the right and monitor on an arm, leaving room for a tenting stand or tray. Narrower desks (80-100 cm) may feel cramped with a riser, so a quality under-desk tray becomes more practical. If you prefer surface-mounted solutions, compare adjustable keyboard stands that offer tilt without a large footprint.
One subtlety: if you play fast-twitch titles (FPS, fighting games) and frequently pivot between keyboard and mouse, a fixed tenting stand can feel restrictive. In that case, a desk-mounted option or a low-profile riser (5° max) preserves your mouse flick space. If you toggle between gaming and long typing sessions, a tray with adjustable height and moderate tilt covers both without compromise.
Start with a simple test: sit at rest, arms at your sides, elbows 90°. Extend your hands flat in front of you, and that is your neutral wrist plane. Now sit at your desk with forearms on the surface, fingers extended. If your keyboard is flat, your wrist is likely in slight extension (fingers tip downward). Try adding 5° tilt: does your hand plane flatten? If yes, that's likely your anchor point. Increment from there in 5° steps; most users land between 5-15°. Pain or sustained heat indicates you've overshot or need height adjustment elsewhere (desk or chair).
Not inherently. Under-desk trays shine when they eliminate desk clutter and allow consistent height locking. The wrist rest benefit comes from the tray's padding and angle stability, not the mounting location. A padded, adjustable under-desk tray often outperforms a flat, unsupported desk mount. But a tenting stand with a wrist rest can match or exceed it. The best choice is the one you'll adjust to neutral and keep there.
No, if tuned correctly. Neutral wrist mechanics improve aim consistency over hours by reducing fatigue and jitter. Some gamers report a brief adjustment period (2-7 days) before muscle memory resets. Rapid, micro-pivots (flick shots) may feel slightly different, but tracking and spray control typically sharpen. The real concern is simple: do not jump to extreme angles (>20°) without gradual adaptation. Start at 5-10°, play for a week, then decide.
Under-desk trays or flat desks flex better here because you can reposition devices on the fly. Tenting stands are more rigid. If your workflow includes frequent device shuffles, a tray with smooth slides beats a locked stand. Alternatively, use a stand for your primary input (keyboard) and keep secondary devices (mouse, stream deck) on the desk surface at matching height.
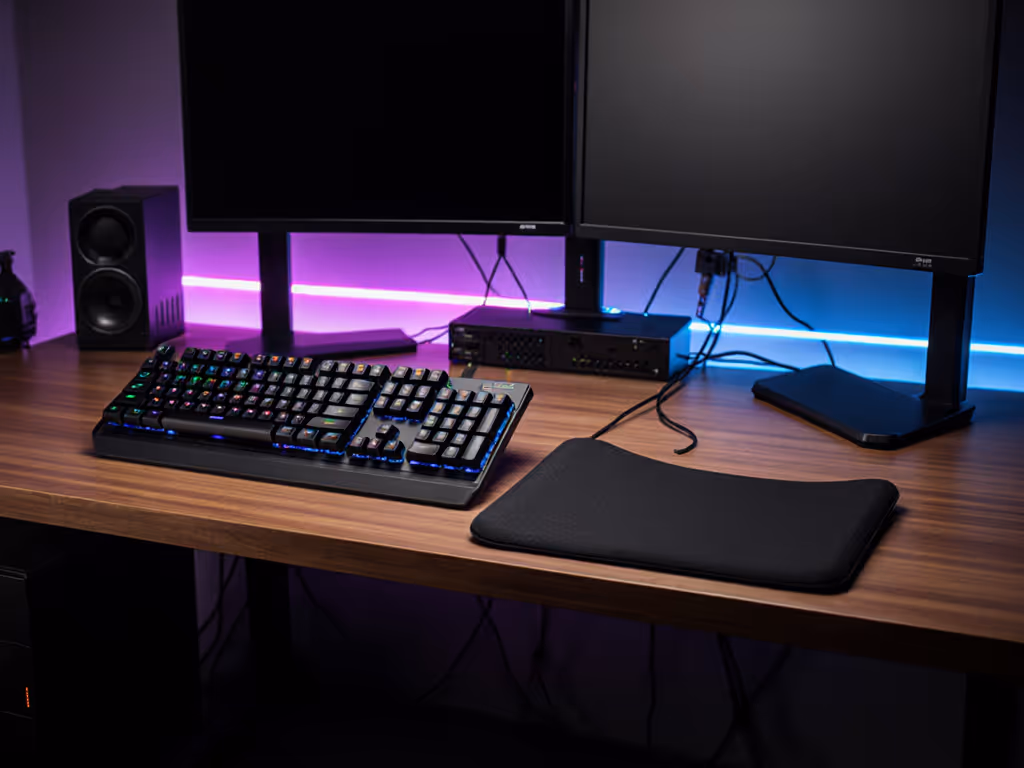
Wrist rests are optional and context-dependent. They reduce wrist extension pressure but can encourage forearm pronation if too thick or unsupported. Many modern trays and stands include minimal padding (5-15 mm), which suffices for breaks. Full palm rests (25+ mm) work best for typing; gaming often calls for less because you may palm-lift to adjust mouse grip. If you use a rest, ensure it's firm enough that your wrist doesn't sink; soft memory foam can collapse and amplify extension over hours. Citation-minded ergonomic literature suggests that a light, supportive rest (or no rest with correct height) beats a thick, unsupported one.
Audit your setup: Measure your desk height, then sit naturally and note where your forearms rest. Is your keyboard above or below that line? If above, you are asking your arms to lift, so lower your chair or raise your desk. If below, your wrists are extended, so raise your keyboard with a stand or tray.
Test angles incrementally: If you buy a tenting stand or tray, start at the lowest angle (0-5°) and add 5° every 2-3 days while logging pain or fatigue. Stop when discomfort drops or plateaus. Most users anchor between 5-12°. Do not jump to 20° thinking more is better. Extreme tilt stresses your shoulder girdle and defeats neutral mechanics.
Layer your system: Combine external positioning (angle, height) with a desk and chair that support neutral posture. A 10° tent on a too-tall desk still fails. Desk height should let your elbows rest at 90° when seated; your keyboard should then float at or slightly below forearm level.
Revisit after changes: If you upgrade your chair, add a monitor arm, or change desk height, re-tune your keyboard position. Neutral mechanics are location-specific; moving pieces off zero requires recalibration.
Your hands are part of the build. The mounting solution you choose, whether flat, tray, or stand, is the stage on which your ergonomic story unfolds. Test with precision, adjust without ego, and let consistency be your north star.